No products
Product successfully added to your shopping cart
There are 0 items in your cart. There is 1 item in your cart.
* One gift for each order


Categories
Magic mushrooms grow kits Instructions
100% Mycelium Kit Magic Mushrooms Growing Instructions
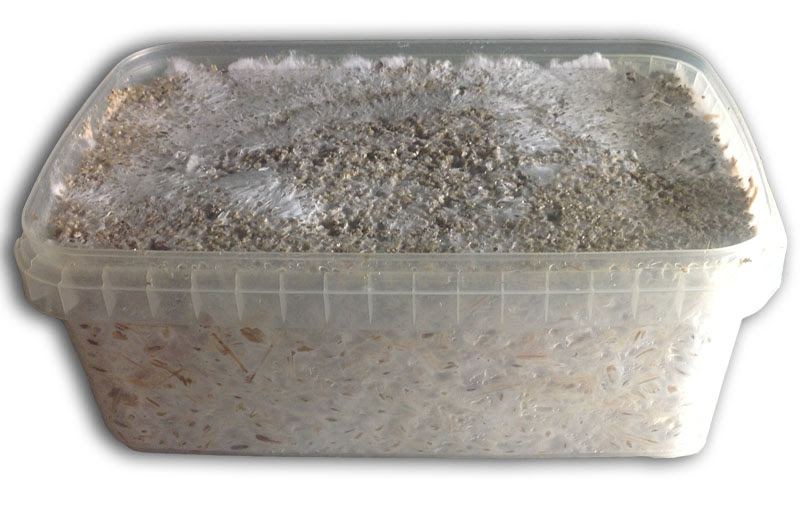
Congratulations on obtaining the best Magic Mushroom growkit on the planet! Now here's how to grow them:

What you need:
- A filled water spray with clean (tap)water.
- A light place with a temperature between 18°C and 30°C (Idealy 23°C).
STEP 1: Opening
1.1 - Wash your hands thoroughly at all times before you are working with these kits, to avoid contamination.
1.2 - Break of the tab you'll find on the side of the lid.
1.3 - Carefully lift up the lid, and take it off.
1.4 - Rinse the lid with water, and keep it for later.
STEP 2: Getting your kit ready
3.1 - Place the growkit inside the plastic bag. Make sure the opening of the bag is pointing upwards.
3.2 - Spray the inside of the bag a couple of times. (NOT on the white mycelium itself!)
3.3 - Close the bag by folding the top twice, fasten it with two paperclips.
3.4 - Place the bag with the kit inside in a warm, light spot.
- No direct sunlight!
- Ideal temperature: 18 - 30 °C (Ideally 23 °C)
- Don't place on a heat source, like a radiator or a dryer.
Mushrooms are 90% water. So while they're fruiting, they need some additional water. If you see no more moisture inside the bag, then reopen it, and spray the inside of the bag a couple of times. Don't spray on the growing substance/mushrooms directly!
Work hygienic at all times! Do not breathe or cough inside the bag, always wash your hands before you start working on your cultivation! You may have touched mold, it's in the air, it's everywhere and you don't want to contaminate your precious!

STEP 3: Wait and grow
Now it's a matter of waiting.
Week 1: Maybe the first small caps will show themselves after 5 days, but you'll probably have to wait until next week. This also depends on your environment and the colonization time of your strain.
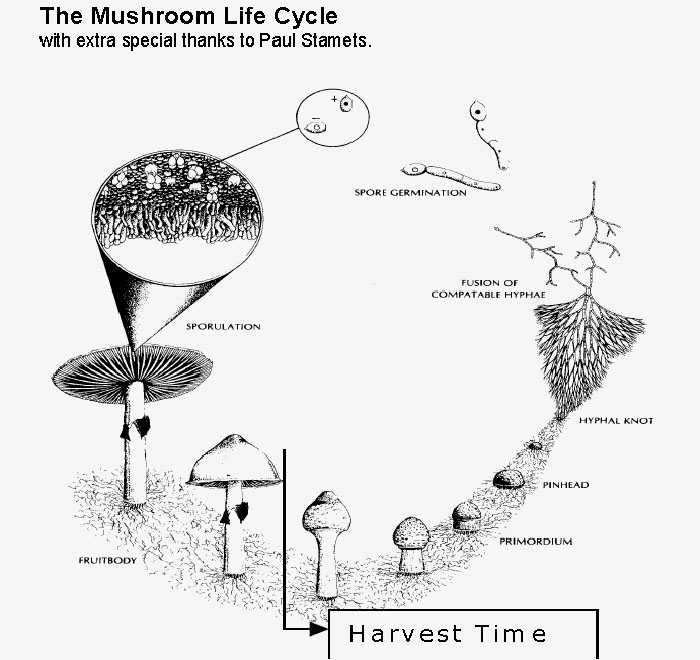
Week 2-3: When the caps show themselves, it will take a week for the shrooms to mature, at the end of that week you will find the ideal time of harvesting.
Ideal harvesting time: Harvest your shrooms when the veil on the edges of the cap start breaking a bit, this means the caps are about to open. Check all your shrooms continuously. If this happens to one or more of them, harvest! Don't hesitate if you're not sure. If it's a bit too early, your shrooms are still fine anyway.
If you see the lamella, and they turned black (covered in spores), you're a bit too late. This is a matter of learning and trying. if you're late, you can probably still eat them and you learned something on the way. ;) However, your next flush may fail.
STEP 4: Harvest
4.1 - Wash your hands thoroughly.
4.2 - Grab a shroom between your fingers at the base, and softly twist it out.
4.3 - Get them all out, except if there are some mushrooms formed in the substrate at the sides of the box. If they aren't to big, leave them because if you go digging in the substrate, you may contaminate the kit. Do however pick the tiny shrooms that haven't fully matured. Pick everything you can.
Avoid touching the mycelium (white matter)!
REPEAT - Get ready for your next flush!
Continue by going back to step 1, but first; follow these steps:
1. - Fill your growkit with cold water. This is called a "cold shock". It stimulates the mycelium to start growing again. Make sure
2. - Make sure the mycelium is fully under water.
3. - Put the lid back on.
4. - Keep the mycelium submersed underwater for 12 hours.
5 - After the twelve hours, open one corner of the lid and pour out the excess water. Make sure it drains 'till the very last drop.
6 - Remove the lid, but once again keep it!
7 - Continue back to step 2
You should get at least 3 harvest like this, but keep trying. Some people manage up to six flushes! This is what biology class should have been, wouldn't you agree?
